Gathering the required items
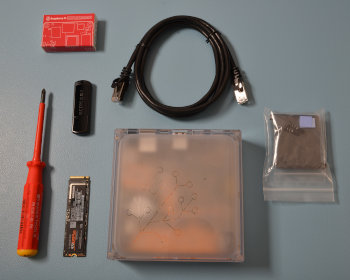
- Home Assistant Yellow, powered off
Additionally, make sure you have the following items
- NVMe M.2 SSD drive
- No. 1 hex screwdriver
Opening the case
Step 1
Protecting from ESD
Grounding protects the components from the static electricity that can be naturally present (electrostatic discharge, ESD).
- Always: Touch the working surface before touching electronics.
- Ideally: Use ESD protective equipment, such as ESD table mats and grounding cords.
Step 2
Removing the case - bottom part
- Remove the 4 screws on the bottom of the Home Assistant Yellow Kit.
- Keep the thumb screws close by; you will need them again later.
Step 3
Removing the case - top part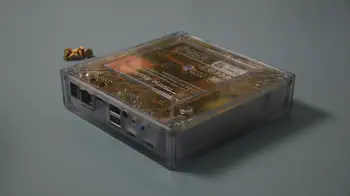
- Make sure the interfaces are facing towards your left.
- Flip the case over.
- Slightly lift off the enclosure on your left.
- Slide the enclosure off towards your right.
Installing the NVMe drive
Step 1
Preparation
- Unscrew the stand-off nut.
Step 2
Inserting the drive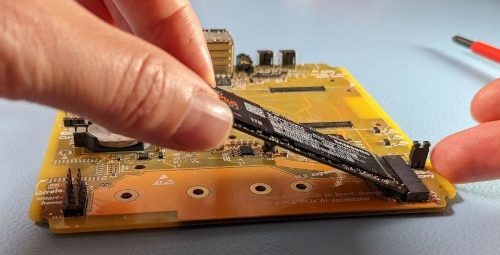
- Notice! Do not touch the gold connector pins.
- Carefully hold the NVMe M.2 SSD by the sides.
- Align the notches in the SSD with the ridges in the slot.
- Then, insert at a 30-degree angle.
- Do not force the connection.
Step 3
Installing the stand-off nut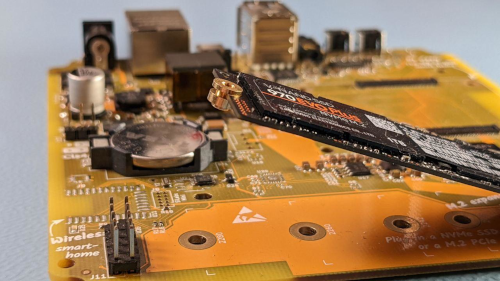
- Slide the stand-off nut into the dent at the end of the SSD drive.
- Make sure the thinner end of the nut is on top.
Step 4
Attaching the SSD drive to the board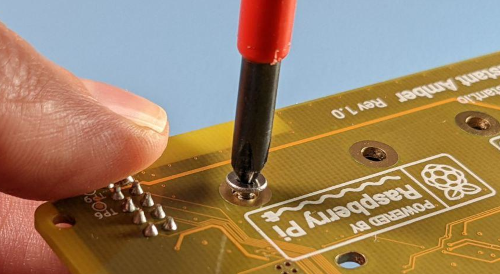
- Press the stand-off nut and the SSD drive against the board.
- While pressing down the drive, turn over the board.
- From the rear side of the board, insert the M2 hex screw.
- Do not over-tighten the screw.
Reassembling your Home Assistant Yellow
Step 1
Preparation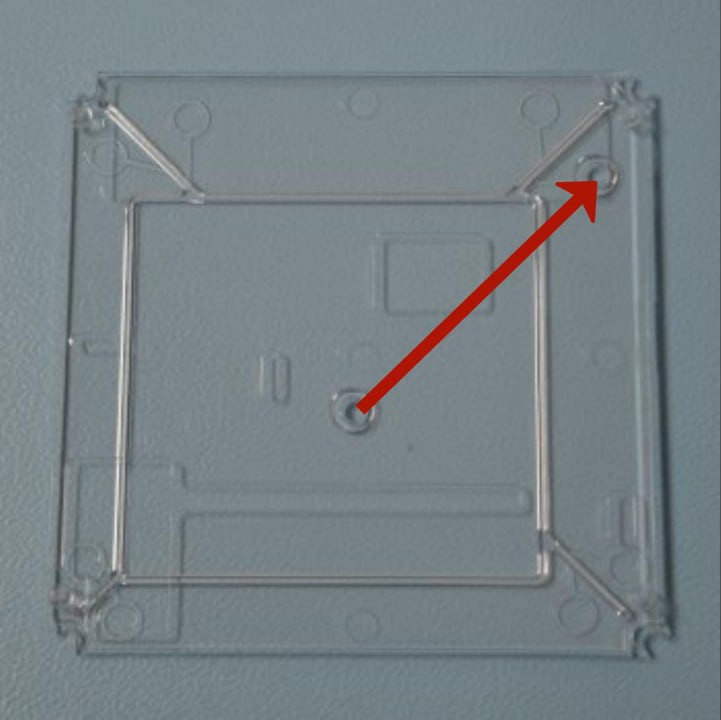
- Place the translucent bottom part of the case onto the table.
- Make sure the two round notches form a line pointing towards the top right corner.
Step 2
Reassembling - bottom part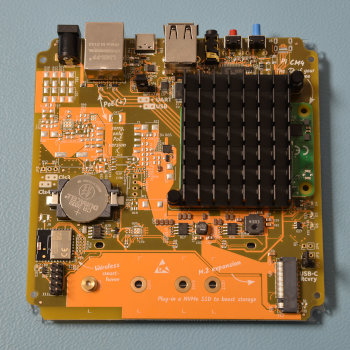
- Place the board onto the bottom part of the case.
- Make sure the USB connectors are facing upwards, away from you.
Step 3
Reassembling - top part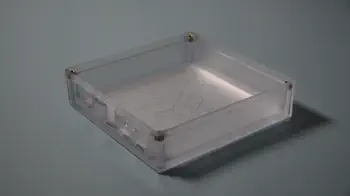
- Turn the enclosure upside down.
- Then, slide the push buttons into the openings of the case.
Step 4
Mounting the case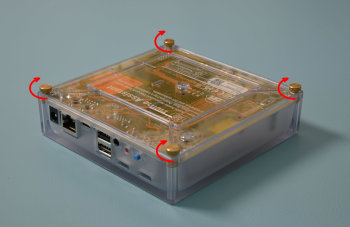
- Insert the 4 thumb screws.
- Do not over-tighten the screws.
Configuring Home Assistant and moving your data
Step 1
Go to the storage configuration page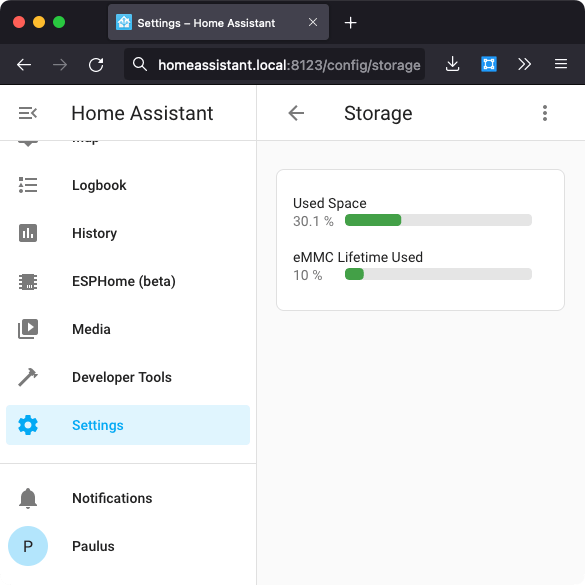
- CM4 Lite: If you have a Raspberry Compute Module 4 Lite: As there is no eMMC flash, you can skip this and the following steps.
- Regular CM4 modules: This moving your data procedure is required for making use of your SSD, even if your module is new.
-
Open your Home Assistant instance and navigate to the storage configuration page using the button below:

Alternatively, you can go to the storage page via Configuration>System>Storage.
Step 2
Select Move data disk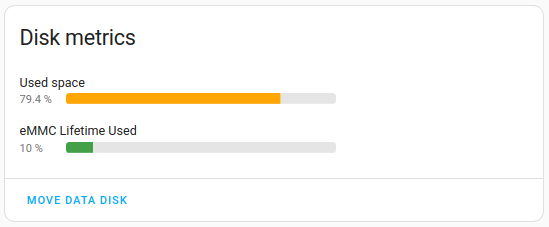
- Select Move datadisk.
Step 3
Moving to data disk
- Select your NVMe drive. If it does not show the full name of your dsik, select nvme0n1 and select MOVE.
- For a small instance of 5 GB (incl. 6 add-ons) this takes about 5 minutes.
Depending on the size of your instance, this may take up to 30 minutes.
Step 4
View new disk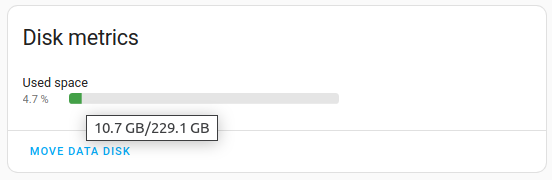
- Once the transfer has been completed, hover over the status bar to see how much free disk space there is available.
- Note that the eMMC section has disappeared.