Gathering the required items
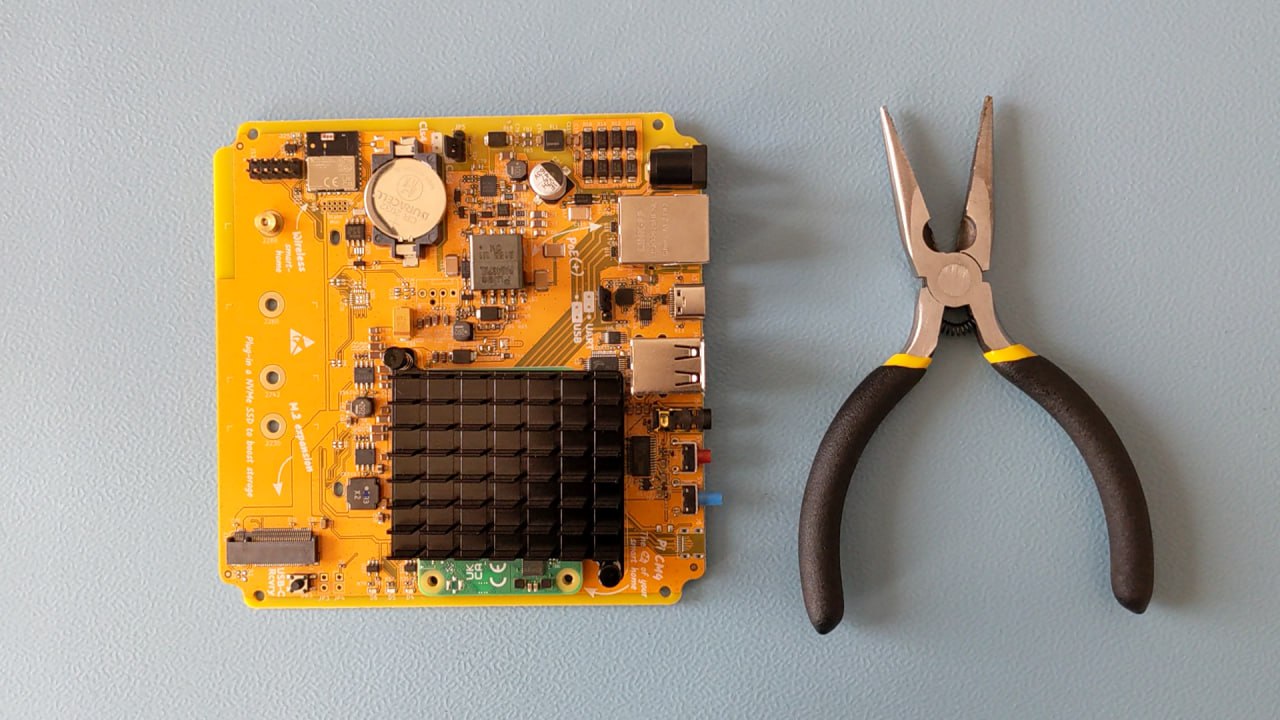
- Home Assistant Yellow
- Flat nose pliers
Opening the case
Step 1
Protecting from ESD
Grounding protects the components from the static electricity that can be naturally present (electrostatic discharge, ESD).
- Always: Touch the working surface before touching electronics.
- Ideally: Use ESD protective equipment, such as ESD table mats and grounding cords.
Step 2
Removing the case - bottom part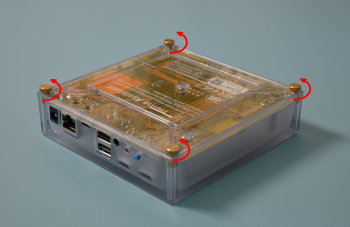
- Remove the 4 screws on the bottom of the Home Assistant Yellow Kit.
- Keep the thumb screws close by; you will need them again later.
Step 3
Removing the case - top part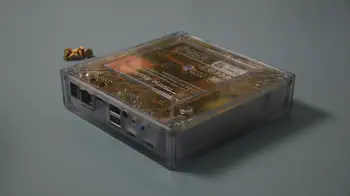
- Make sure the interfaces are facing towards your left.
- Flip the case over.
- Slightly lift off the enclosure on your left.
- Slide the enclosure off towards your right.
Removing the Raspberry Pi Compute Module 4
Step 1
Removing the heat sink
- Use the pliers and squeeze the front of the pin so that it fits through the hole.
- Repeat the procedure for the other pin.
Step 2
Removing the Raspberry Pi Compute Module 4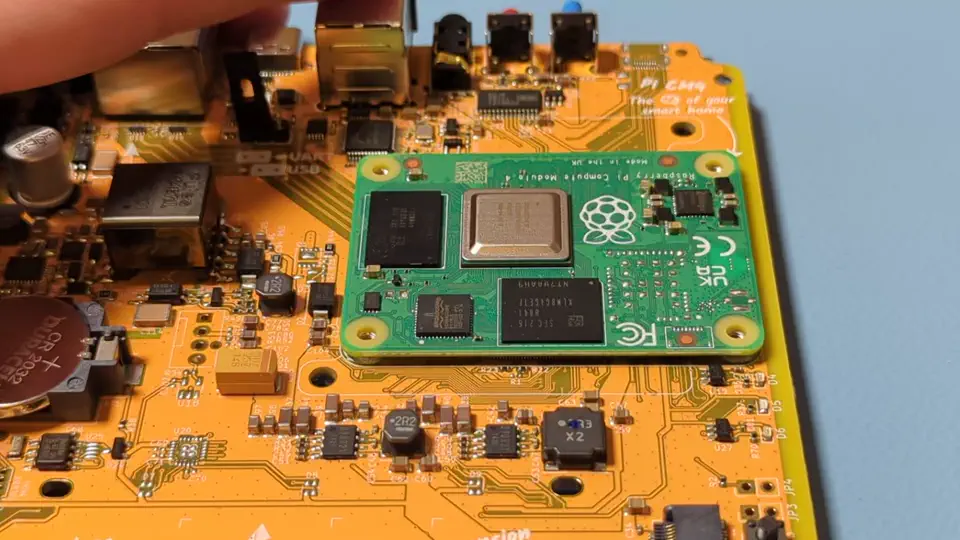
- Ideally, the module should be pulled up vertically. But this is hard to to.
- Pull up the module from one side, tilting as little as possible. Tilting can damage the connector.
- This requires quite a bit of strength. If it does not work, pull harder.
- Do not use a screw driver as a lever. It might damage the board.