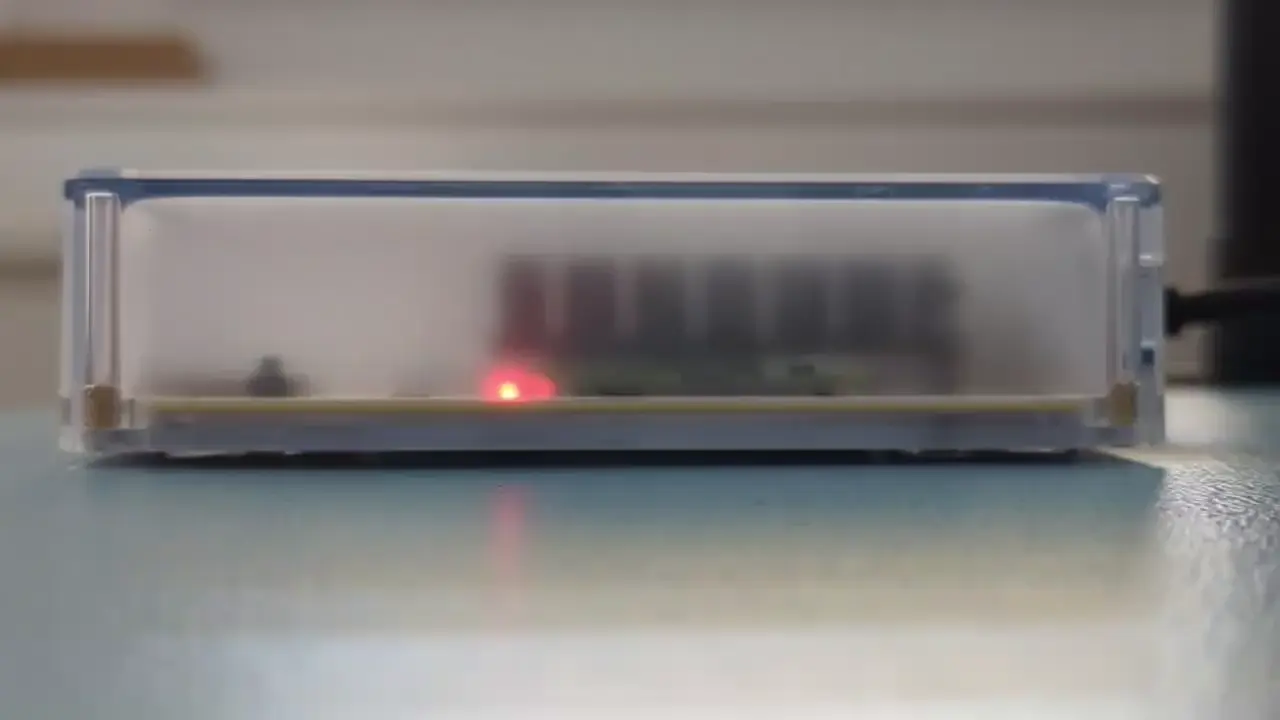
Home Assistant Yellow has 4 LEDs. The red and green LED's behavior is similar to the red and green LED on a Raspberry Pi. The yellow LED is specific to Home Assistant Yellow. It indicates Home Assistant specific information.
- Red LED (D4): Power LED
- Green LED (D5): Activity LED
- Yellow LED (D6): Home Assistant Yellow system health LED
- Blue LED (D2): Radio LED. Indicates network traffic on the radio. The radio can be used for Zigbee or Thread. The behavior of the LED is the same for either.

Power LED (red)
The power LED indicates whether the CM4 is powered. If the LED is off, check the power supply. If the LED continues to be off, remove power, and check if the CM4 is properly seated on the Yellow PCB.Activity LED (green)
The activity LED indicates various firmware and boot loader states at startup. If CM4 fails to boot, the pattern indicates what the reason is. Refer to the LED Warning Flash Codes table of the Raspberry Pi documentation. Once Home Assistant OS has been started, the green LED indicates activity. Activity is defined as disk (eMMC/NVMe) or any CPU load.System health LED (yellow)
Home Assistant OS
| Pattern | Description |
|---|---|
| Off | System is in EEPROM firmware or boot loader mode. |
Heartbeat

|
Home Assistant OS is running. |
Home Assistant OS Installer for Yellow on CM4: LED patterns during installation
These LED pattern apply only while you are running the Home Assistant OS Installer on a Raspberry Pi Compute Module 4 (CM4). These LED patterns don't apply during operation.
As the Home Assistant OS Installer is not used for the Raspberry Pi Compute Module 5, this section does not apply for CM5 installation.
| Yellow LED | Meaning of the LED pattern while running the Home Assistant OS Installer on CM4 |
|---|---|
| Off | System is in EEPROM firmware or boot loader mode. |
Steady blinking (typically ~30 s)

|
Installer is booting. |
| Solid on (typically 5 s) | Installer successfully booted and was able to connect to the Internet. |
| Solid on (much longer than 5 s) | After the steady blinking sequence, the yellow LED should be solid on for about 5 s and then switch to fast blinking. A yellow LED that does not switch to fast blinking but stays solid on indicates a network issue. |
Fast blinking (typically ~3-5 min, depending on Internet connection speed).

|
Downloading Home Assistant OS and installing onto the eMMC or NVMe. |
| Off | Installer successfully finished. Green LED will blink a few times before turning off. Only the red LED remains on. |
Disabling the LEDs
If the LEDs seem too bright for your environment, you can disable them.
- Go to Settings > System > Hardware and select Configure > Configure hardware settings.
- In the dialog, select the toggles to disable or enable the LEDs and submit the changes.
- The LEDs are now disabled.
